Why some wallpaper peels off in sheets and some fights back
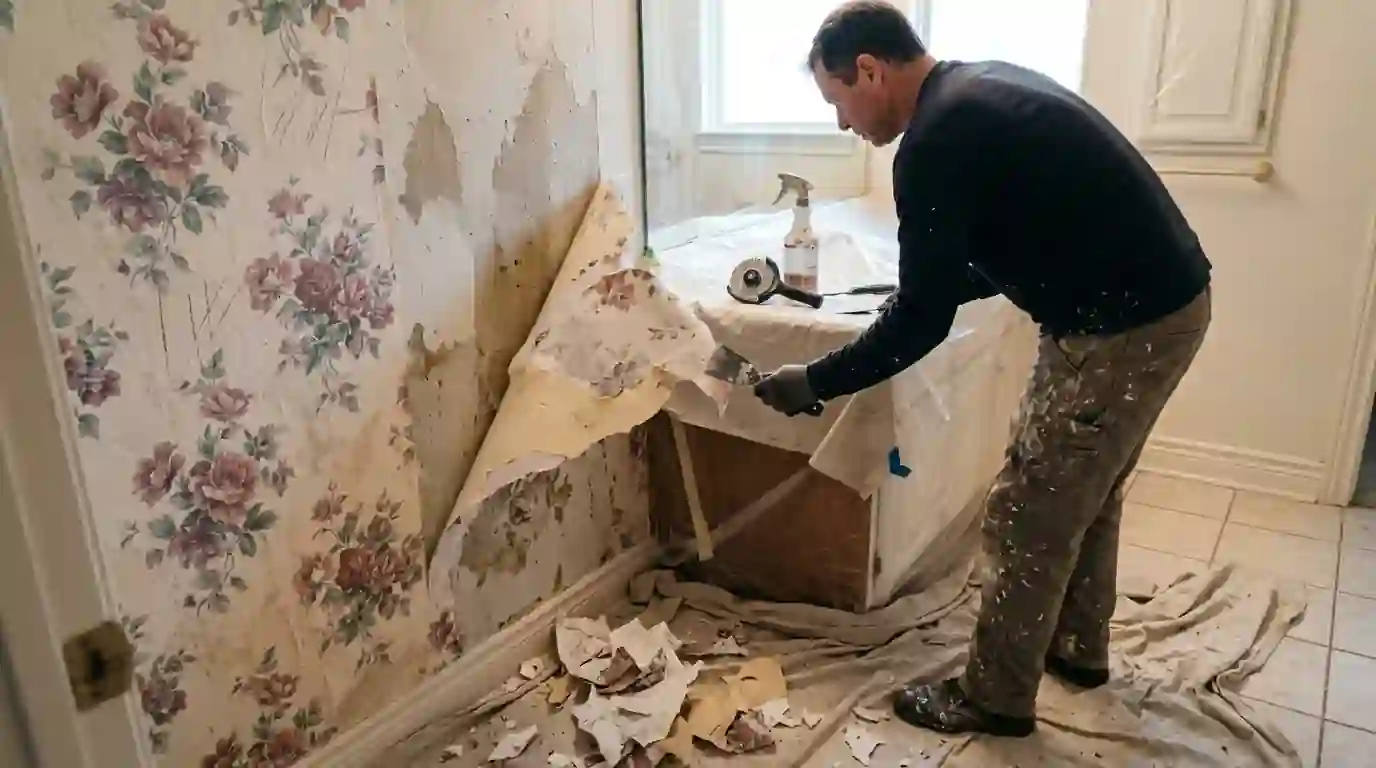
The hardest part of the job is something you can't see: whether the drywall was primed before the paper went up. When builders and installers skipped that step, which was common in 1980s and 1990s homes, the paste soaked straight into the drywall's paper facing. Pull the wallpaper and the facing comes with it, leaving brown, fuzzy patches that need careful repair. We find out which case we have by testing a corner first.
Vinyl wallpapers with a strippable backing often release in large sheets once you lift a corner, leaving a thin paper backing that soaks off easily. Older solid paper and multiple layers stuck on top of each other need scoring and repeated soaking. Grasscloth is a different job again, since the fibers soak up water unevenly and the backing often holds tight, so we usually work it in smaller sections. It also stains easily.
Getting the paste off is what makes the paint stick
Wallpaper adhesive left on a wall is a problem even when you can't see it. Paint applied over residual paste can crack, wrinkle or fail to dry evenly, and it's one of the main reasons DIY paint jobs over stripped walls look patchy. After the paper is off, we wash the walls with warm water and a paste-dissolving cleaner, rinse them, then wipe again. Paste left in corners and along baseboards is easy to miss.
We check by touch and by light: dried paste feels slightly slick or tacky and shows a dull sheen at an angle. Walls get washed until they feel like bare drywall. In bathrooms, where steam softens leftover paste, that thoroughness matters even more. Sponges get rinsed in clean water often, because a dirty sponge just spreads dissolved paste around the wall instead of lifting it off. We let the washed walls dry for several hours, longer in a closed bathroom, before sealing or skimming anything, since compound and primer won't hold well on a damp surface.
What wallpaper removal typically costs in Fort Worth
$485 to $1,240
for a bathroom, powder room or small bedroom, stripped, repaired, primed and painted. Your price comes from a written scope after we see the job.
What moves the number
- Wall square footage and ceiling height
- Number of wallpaper layers
- Vinyl, grasscloth or paper-backed type
- Whether drywall was sized or primed before papering
- Amount of torn drywall facing to seal and skim
- Bathroom fixtures and tight spaces to work around
Repairing torn drywall paper the right way
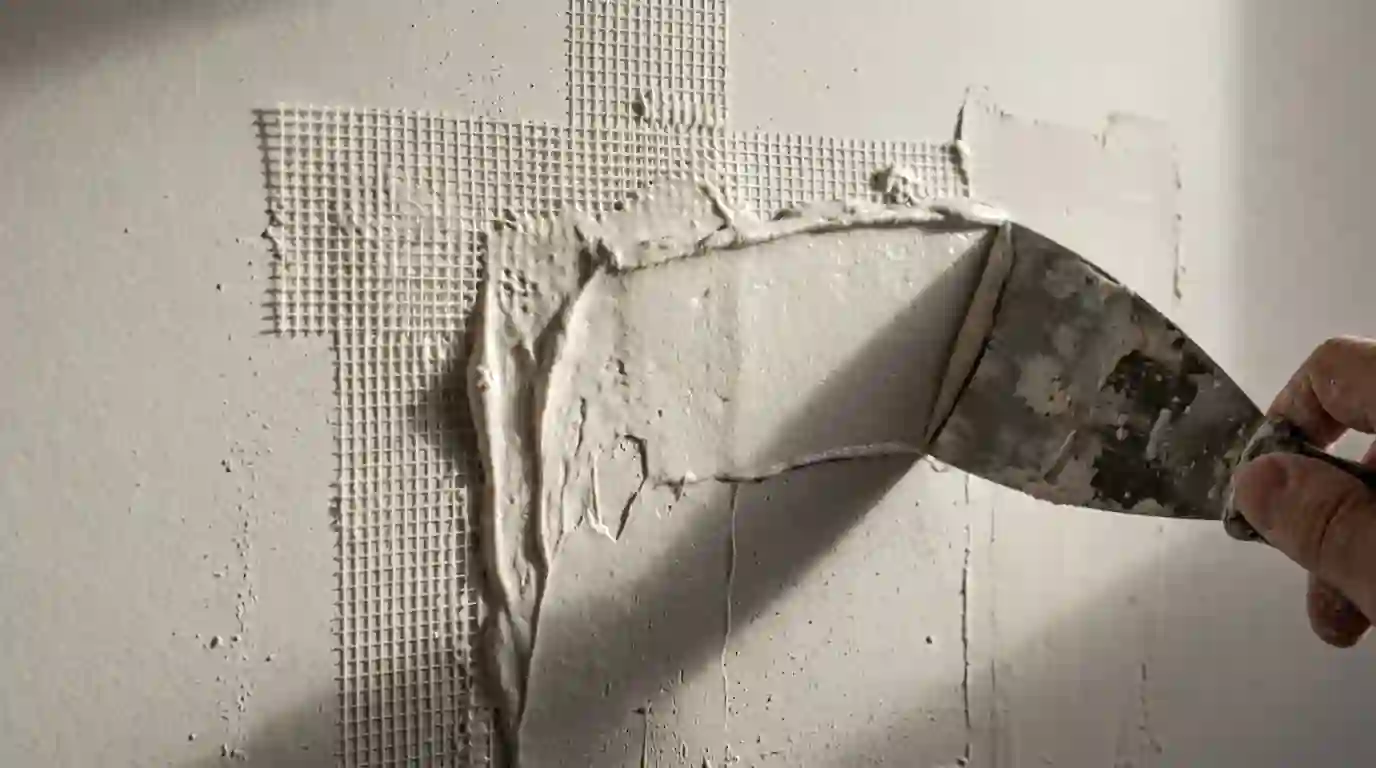
Where the paper facing tore, the exposed brown layer underneath swells and bubbles if water-based compound or paint touches it directly. We seal those spots first with an oil-based or shellac-based primer, which locks the fibers down and dries in about an hour. Then we skim the damaged areas with lightweight joint compound and sand smooth with a fine sponge. Using regular latex primer on torn facing is a common mistake, since it makes the paper swell.
If large sections tore, we skim the entire wall so the finish is even. Wallpaper also hides old flaws like dents, uneven seams and nail pops, so we fix those during the same step. On textured walls, we match the existing texture before primer so the room doesn't end up with smooth papered walls next to textured ones. Wallpaper borders often leave a stripe of heavier paste at chair-rail height, which we pay extra attention to during skimming.
- Score and soak older paper, peel strippable vinyl dry
- Wash paste with a dissolving cleaner, then rinse
- Seal torn facing with oil-based or shellac primer
- Skim and sand, match texture where needed
- Prime the full wall before color
Primer and paint after wallpaper comes down
Even a clean, repaired wall has mixed surfaces: bare drywall paper, joint compound, sealed patches and old paint around the trim edges. A full coat of quality drywall primer or a stain-blocking primer evens all of that out so the finish coats look uniform. Skipping primer is how you get shiny and dull patches once the paint dries. Primer also shows any remaining flaws, which we touch up before color goes on.
In bathrooms, we use a paint designed for humid rooms, usually a satin or semi-gloss acrylic with mildew resistance, because steam and splash are constant. In living spaces, an eggshell or matte finish hides minor wall texture differences. If you're unsure about color, we can help you pick one that works with your fixtures, floors and light. Powder rooms with little natural light often look better in a warmer shade than the swatch suggests, so we brush out sample patches on the wall first.
Signs it is time for wallpaper removal
- Wallpaper seams lifting or curling at the edges, especially in bathrooms
- Bubbles or loose areas where the paper has separated from the wall
- Dated patterns or borders that make the room look decades old
- Mildew spots or staining showing through bathroom wallpaper
- Paint applied over wallpaper is cracking or showing the seams
- You're preparing the home to sell and buyers want neutral walls
How we handle wallpaper removal, step by step
- 1
Test the paper and wall
We lift a corner in a hidden spot to see how the paper releases, count layers, and check whether the drywall underneath was primed before papering.
- 2
Protect floors and fixtures
Floors get waterproof drop cloths, outlets and switches are covered and turned off at the breaker where needed, and vanities and toilets in bathrooms are wrapped.
- 3
Strip and soak
We peel strippable layers dry, score the rest lightly, soak with warm water and remover, then scrape gently with a wide blade held flat to avoid gouging drywall.
- 4
Wash off adhesive
Every wall is washed with a paste-dissolving cleaner and rinsed until no slick residue remains, then allowed to dry fully before any primer goes on.
- 5
Seal, skim and sand
Torn facing gets an oil-based or shellac primer, followed by skim coats of joint compound, sanding and texture matching so the wall is smooth and even.
- 6
Prime and paint
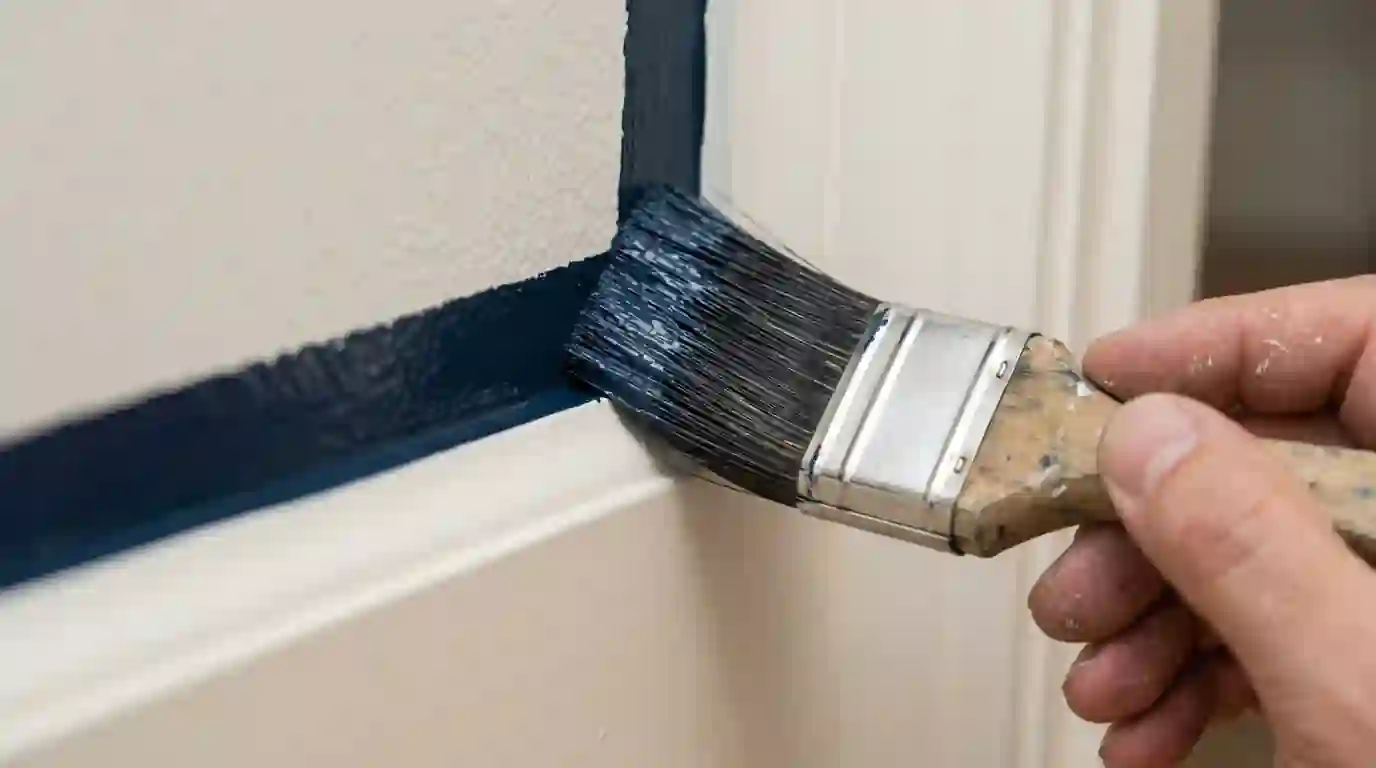
A full primer coat goes on, then two finish coats in the sheen suited to the room, with trim edges cut in by brush and walls rolled for an even look.
Fort Worth conditions that shape wallpaper removal
Wallpaper shows up all across Fort Worth, from floral borders in 1980s and 1990s homes in Summerfields, Park Glen and Hurst to vintage papers in older bungalows around Fairmount and Ryan Place. Bathrooms are the most common rooms we strip, since humid air loosens seams and grows mildew behind the paper. In older homes, the walls behind the paper can be plaster rather than drywall, which takes water differently, so we test small spots first. If you're getting ready to sell, removing busy wallpaper and repainting with a neutral color is one of the quicker updates that helps a listing. Summer humidity inside a closed-up bathroom slows drying, so we run fans to speed up drying between steps.
Where we offer wallpaper removal around Fort Worth
Across Fort Worth (76102 and surrounding ZIP codes), including Fairmount, Ryan Place, Mistletoe Heights, Arlington Heights, Tanglewood, Westcliff and other neighborhoods, plus these nearby cities and counties:
- Arlington 76010
- Grand Prairie 75050
- North Richland Hills 76180
- Mansfield 76063
- Euless 76039
- Grapevine 76051
- Bedford 76021
- Keller 76248
- Burleson 76028
- Haltom City 76117
- Hurst 76053
- Southlake 76092
- Weatherford 76086
- Saginaw 76179
- Colleyville 76034
- Benbrook 76126
- Tarrant County 76102
- Denton County 76201
- Johnson County 76031
- Parker County 76086